For today’s mod, we're got three core pieces of gear: A StewMac ’66 D-Reverb, which is inspired by the classic Fender Deluxe; a StewMac Pre-wired speaker harness; and a ToneSpeak Austin, which is a 12-inch, 50-watt, 8 ohm speaker, but you can do this kind of speaker replacement on any 1x12 or 2x12 combo. And remember, always match the ohm rating of your amp to your speaker. If you don't do this, you could blow a speaker or damage your circuit. No bueno.
Step 1: So, let's start with our D-Reverb amp. Put a towel down on the floor or your work bench or table, to protect the amp’s face, and put your combo face down on that towel. You'll next need to take your wire clippers and cut the wires at about one inch away from the mounting posts on the speaker that they're connected to. That inch will come in handy later if you want to de-solder the wire ends from the speaker, so you can re-use the speaker later, for another cabinet.
Step 2
Step 2: With the wires separated from the speaker, unplug the wires from the 1/4-inch speaker output jack on the back of the amp, and then remove the wiring. You don 't need to have a set of loose, dangling wires in your way when you remove the speaker or install its replacement.
Step 3
Now, using your drill—set to a gentle speed—or using your screwdriver, you'll want to unscrew all the screws holding the speaker to its frame in the speaker cabinet. Be careful to place each screw in a small container as you remove them. And when you've removed them all and placed them in your container, put the lid on it. You don't want to drop a screw and have to hunt for it on your hands and knees, or misplace one, because you're going to need them to put the replacement speaker in.
Step 4
Gently lift out the original speaker.
Step 5
Inspect your replacement speaker—our Tone Speak Austin— one more time to be sure there are no obvious flaws, and then move it into place, aligning its screw holes over the screw holes in the frame.
Step 6
Open your container, and use the screws you saved to screw the new speaker gently and securely into place.
Step 7
Now it's time to wire the Tone Speak Austin speaker up. I like to use a fresh wire harness, because if you're replacing a speaker, there is a good chance the old wire harness has been in place for a while. There's nothing better than a fresh start. So, in this case, I'm using the StewMac harness, which comes pre-wired and ready to go—which saves a lot of steps. There's no wire cutting, no attaching a 1/4-inch jack or speaker post connectors to the wires. Just plug the harness’ 1/4 -inch jack into the speaker out on the back of the combo, and, since the StewMac harness is pre-wired with clips, just slide the clips over the speaker posts. You can solder those in place later, so they don't come loose, but right now you can pick up the amp, plug it into an outlet, and plug in a guitar to test the speaker. And it's gonna fire up and sound good, since the only connections you've made so far are plug and play.
Step 8
Once you know that everything works, just place the speaker back down on its face and start heating up your soldering iron. You'll want to make the joints of the speaker posts and speaker wire harness clips permanent. Otherwise, the wires will shake loose with travel or use. It's also a good idea to put a piece of aluminum foil under the area where you'll be soldering, to protect your new speaker from any drips of solder that might fall.
Austin 1250 Speaker
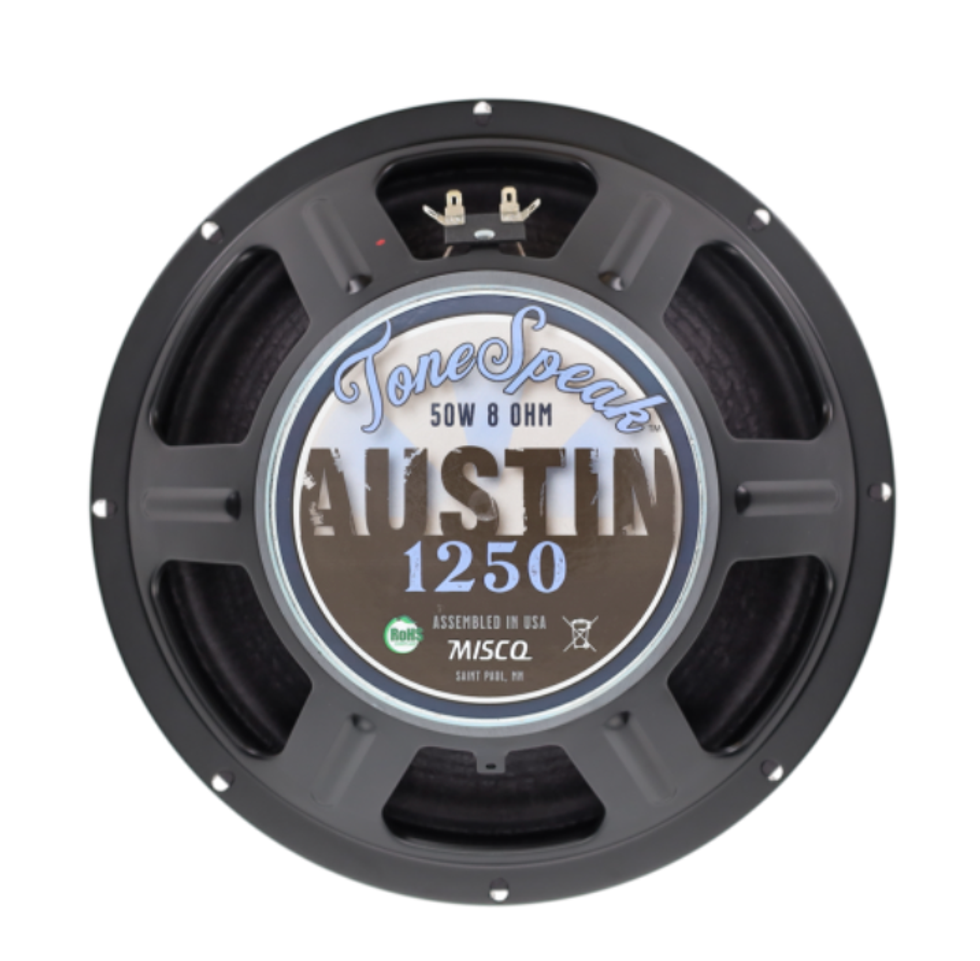
Balance, punch, fullness, and clarity are at the forefront of this speaker. The mids are tailored and even, enabling the articulation, openness, air, and a nice glassiness to shine through in the highs. The tight, solid, and responsive lows round out the tone and perfectly balance the detail in the highs. A very musical speaker, optimized for the ever so popular Deluxe Reverb, yet suitable anywhere you want pure American tone.
StewMac '66 D-Reverb Amp Kit
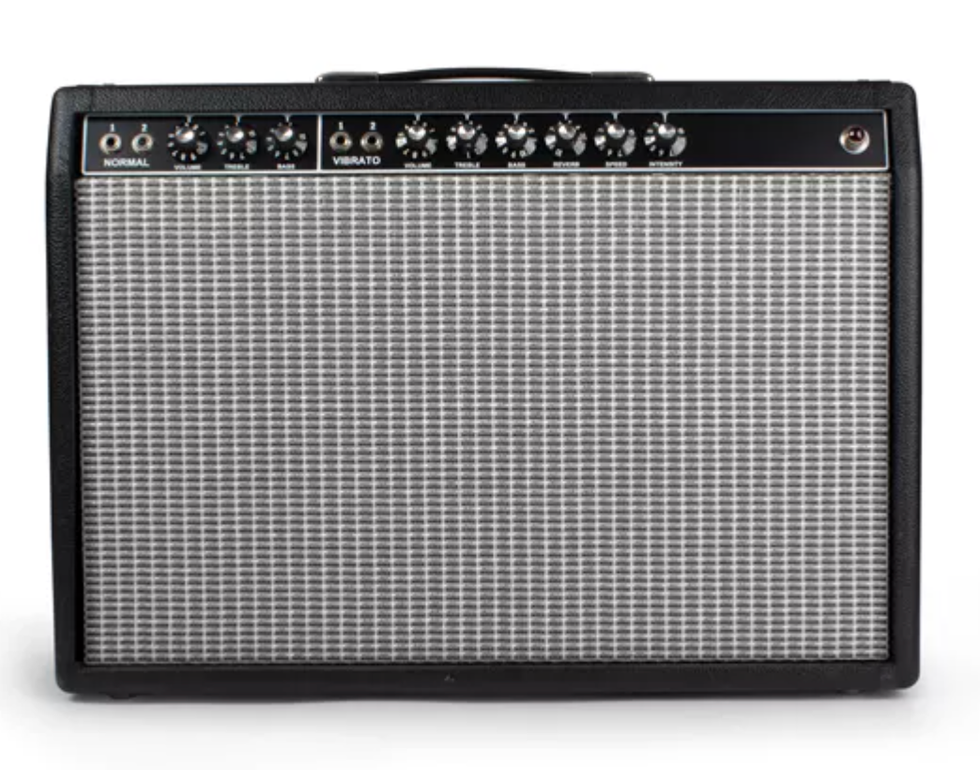
Perfect for recording and performing, the D-Reverb produces warm clarity that absolutely refuses to get lost in the mix.
One of the most popular amps ever built, the original AB763 circuit puts this amp in the happy middle between bright clarity and rich distortion. It excels in the studio and on the stage. While capable of crystal clear tones at good volume, you can push this beloved classic into beautifully saturated, touch-sensitive distortion. It's all here: clarity, distortion, and rectifier tube sag.

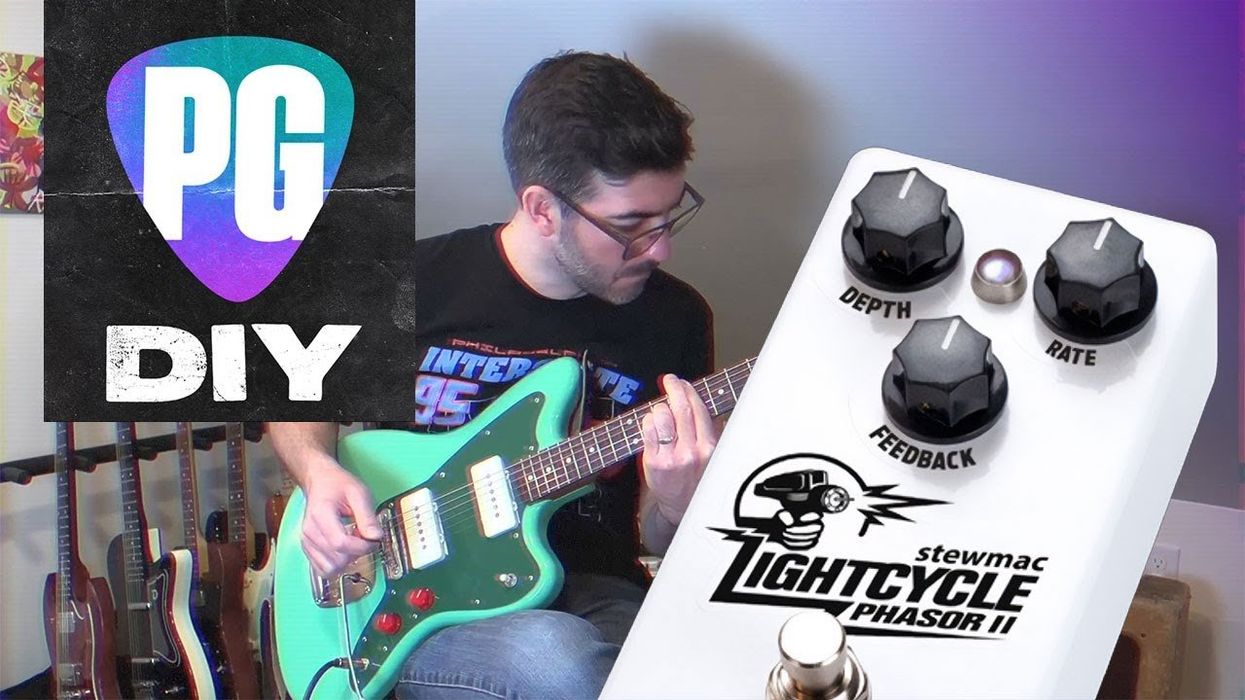
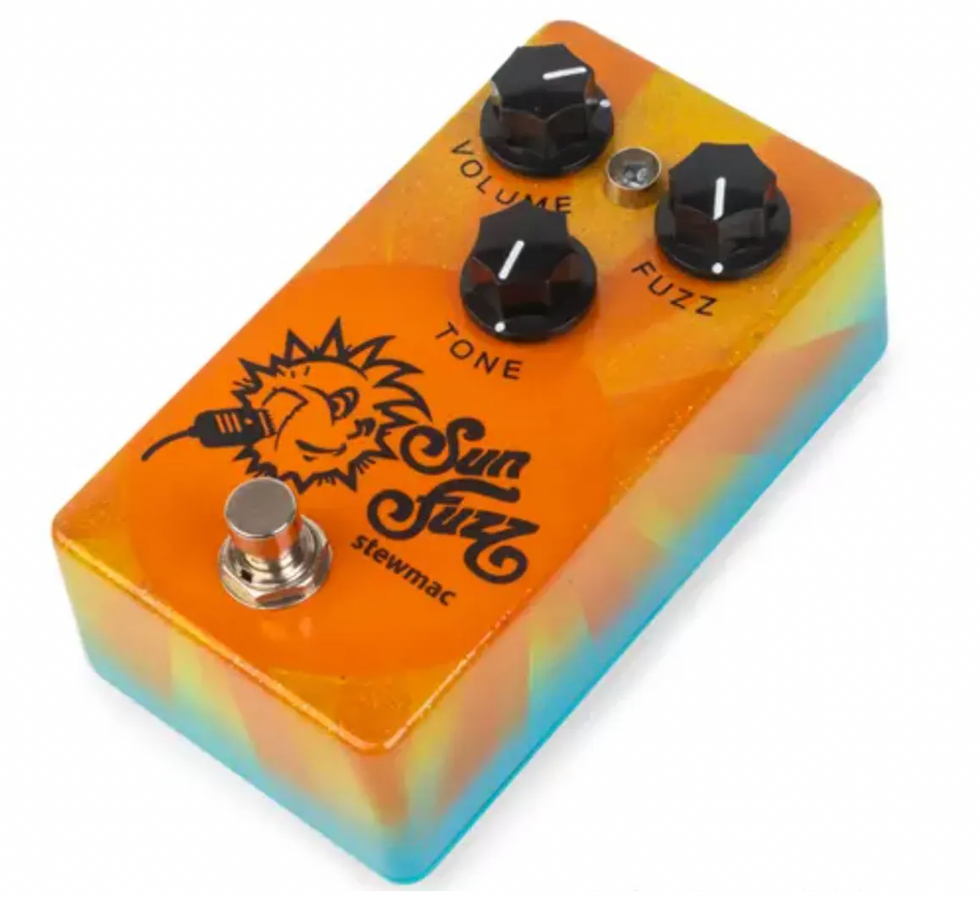
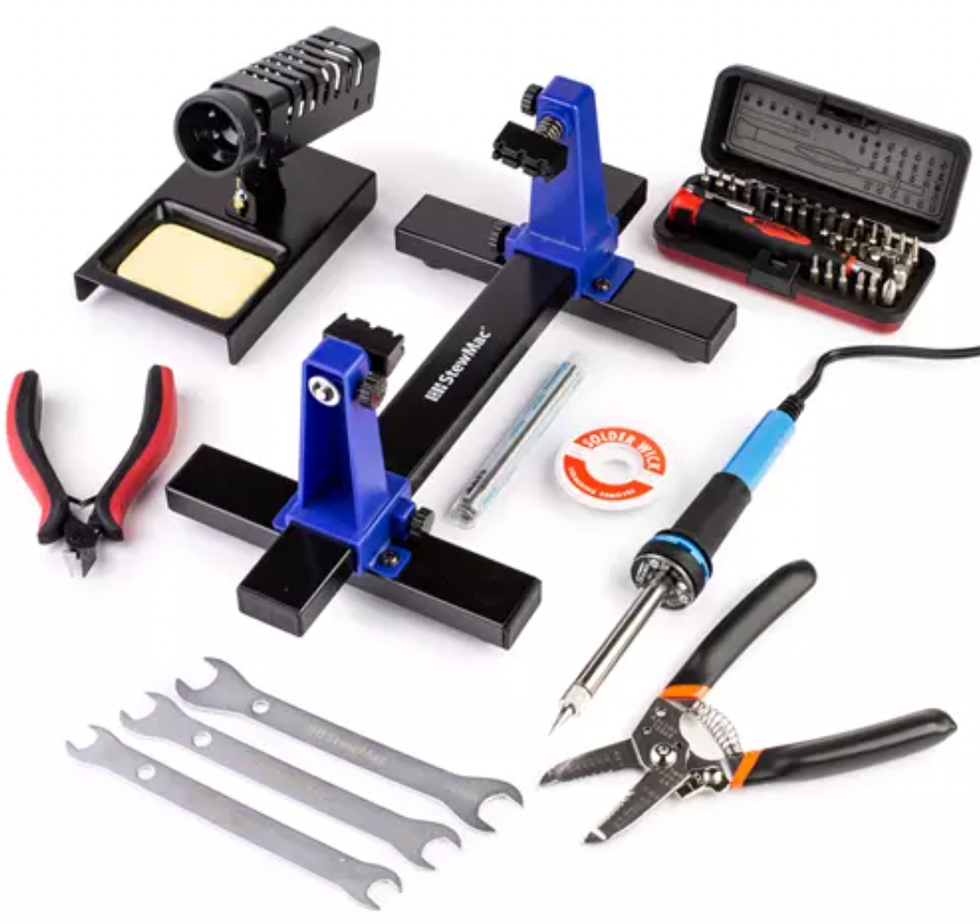
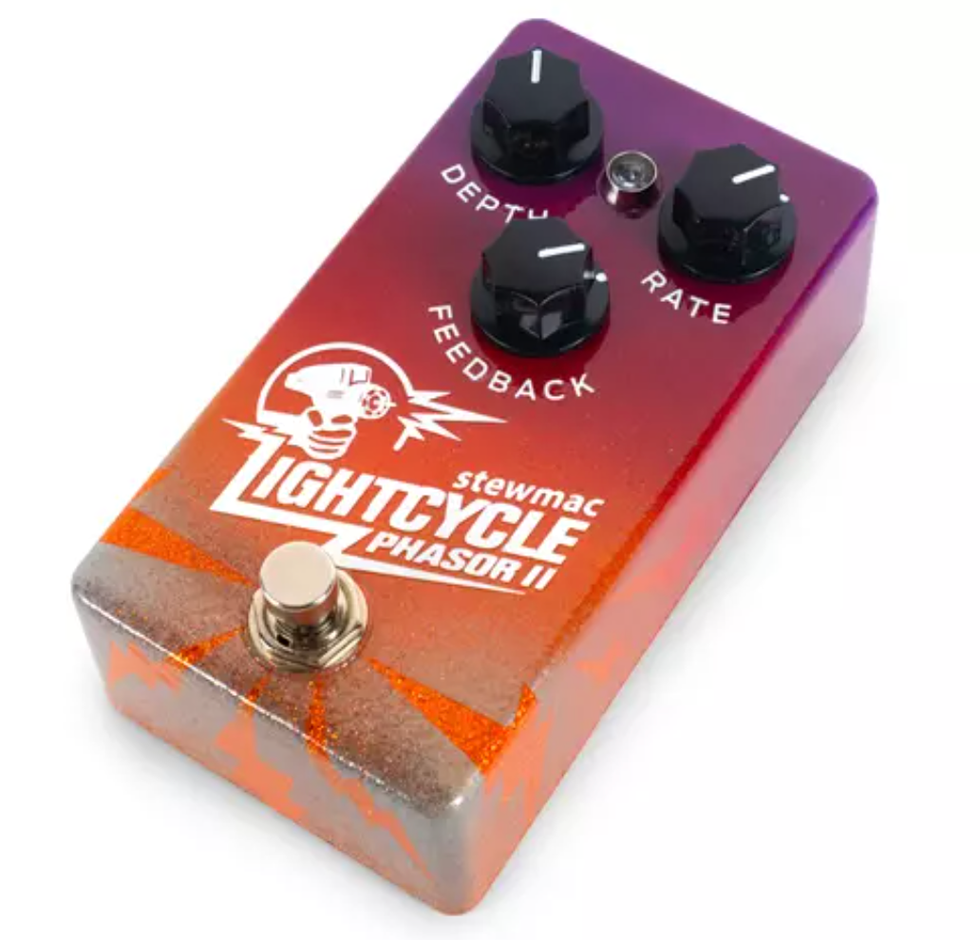
The Lightcycle kit is more challenging than some of StewMac’s other projects and includes photo resistors and vertically mounted resistors, both of which are tricky to install. Luckily, Nick has been building StewMac kits for the last year—he’s previously built both the Sun Fuzz and Ghost Drive kits. Equipped with their pedal-building tool kit, he felt like he leveled up his skills.
In this video, Nick unboxes the Lightcycle kit, talks about the building process from testing and labeling each component to installing them (following the kit’s 40-page step-by-step instructions along the way), then plugs it in for a pair of demos with various sounds from this vintage-inspired unit.
Highlights
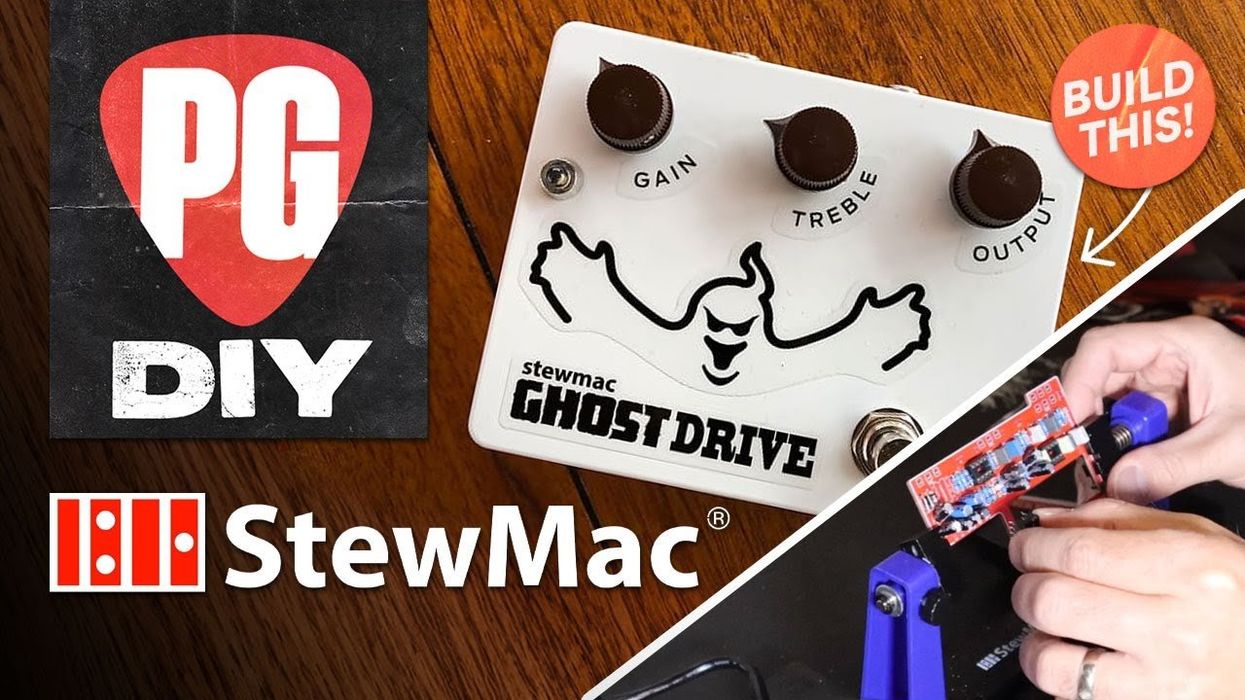
- Nick, with limited pedal-building skills, successfully builds a pedal using StewMac's Sun Fuzz Pedal Kit.
- Despite initial doubts and a lack of tools, Nick follows StewMac's instructions and enjoys the process, likening it to building Legos.
- He encounters issues with the first build, but StewMac's exceptional customer service, led by Devin, assists in troubleshooting and replaces the kit.
- Nick's second attempt is a success, and he expresses enthusiasm for making more pedals, praising Stewmac's support.
- Stewmac's Sun Fuzz kit is recommended as a great starting point for novice builders, emphasizing the company's commitment to helping customers succeed.